
Please note: this post has been written for photographers and is therefore quite lengthy and does get quite technical
For me, one of the primary objectives of our tour round Tasmania was to develop my skills in photographing subject matter that sits outside my normal genre, the built environment, and to come back with a few images that are worthy of potentially offering as framed photographs for sale and as possible competition entries.
I was particularly interested in the following:
Waterfalls
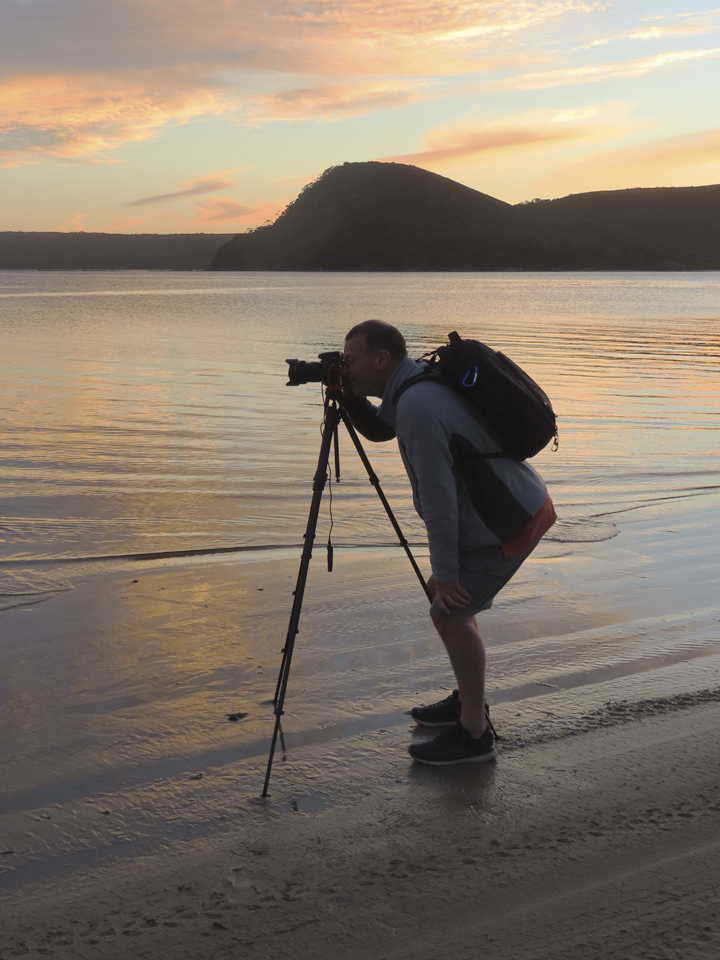
Sunsets and sunrises
Night skies and star trails
Landscapes and seascapes
With this in mind, I had pre-planned possible locations, sunrise and sunset times and moon rise and setting times at each of the areas we were planning to visit.
But things did not go quite according to plan.
This was mainly due to the weather. Night skies were out of the question, with the only clear sky being the night we arrived when it was blowing a gale and I was very tired after an early disembarkation from the ferry. I let it pass thinking there would be other opportunities, but, alas, there were none.
However, in compensation, there were plenty of opportunities for my other subject matter and to learn a bit more about photographing in the mist and rain!
Equipment
Travelling by car allowed me to take as much equipment as I thought I might need, so here is what I packed:
- Cameras
- Nikon D810 (excellent for night shots)
- Nikon Z7 (light for taking on long walks)
- Nikon D5500 (very light crop sensor). This was a last minute decision that paid off
- Lenses
- Nikon 14 – 24 f2.8 F mount
- Nikon 24 – 70 f2.8 F mount
- Nikon 24 – 70 f4.0 Z mount
- Tamron 100 – 400 f 4.5 – 6.3 F mount
- Accessories
- Manfrotto carbon fibre tripod with Sunwayfoto geared head
- Peak Design travel tripod (fits in my back pack)
- Speedlight
- ND filters 6, 8 & 10
- 5 batteries for the full frame cameras, plus one charger
- Chest harness
- 6 x 16Gb ScanDisk Ultra cards
- 2 x 64 Gb Sony XQD cards (for the Z7)
- Drone
- Mavic 2 Pro (fits in my backpack)
- Laptop
- Mac Book Pro
- 1 Tb Lacie Rugged external drive
I used almost all of the above and one time or another, except the speedlight and the drone. The drone did not see the light of day because most of the areas we visited are national, state and conservation parks, which, in Tasmania the use of drones is prohibited. It was it worth my Remote Pilot Licence to risk it. On the odd occasion I could have used it, it was too windy.
How it worked out
My intention was to mainly use the Z7 and its 24 – 70 Z mount lens for day time shooting, mainly because the combination is relatively very light for carrying in my bushwalking backpack. The D810 was for night time shooting and the D5500 was a backup.
Within the first week, the Z7 started to play up, with the automatic switching between the monitor and viewfinder failing (see footnote). This meant that reviewing shots had to be made through the viewfinder, thus throwing my normal shooting workflow into disarray. As this caused me some frustration, I decided to put it away and use the D5500, again due to its lightweight. One of the features of the Z7 that I really love is the visible histogram in the viewfinder and monitor – when shooting in full manual mode this allows me to balance the aperture and shutter speed for accurate exposure and depth of field by using the two command dials. The D5500 only has one command dial and after a couple of sessions, this proved limiting.
So, I resorted to the D810 for most of the rest of the trip. It is much heavier, but with the exception of the visible histogram pre-shot, its operation is similar to the Z7.
This was when my chest harness really proved its worth – rather than having to take off a backpack, take out the camera, take the shot and pack it away again, it was ready to go (unless I wanted to change a lens, of course). With regard to this, there is nothing worse than doing a 15 km walk with a camera swinging around your neck, particularly when using of walking poles (which was quite regularly for the difficult terrain normally associated with waterfalls).
Having only used it twice, I will leave the Manfrotto tripod at home next time – the travel tripod did the job very well.
Post processing
I aimed to download the images to my laptop every day, but this did not always happen. I also aimed to copy to them to the external drive as regularly as possible – I managed this more or less every week. This meant that I had three copies of every photograph most of the time.
Processing images on a laptop screen as opposed to my 27 inch calibrated monitor is not quite the same, especially when the lighting conditions were so variable (bear in mind most of the time I was in a tent). I therefore decided to keep any post processing of the images to a minimum, generally only working on those I selected for my blog posts.
Lenses
My lens of preference was my 14 – 24 – the wide angle gives me some dramatic shots and is great for landscapes by giving me the wide angle and great depth of field. The other reason I ditched the D5500 was it being a crop sensor camera – this meant that I was not getting the full 14mm focal length, which proved to be a limitation on a few occasions.
The Tamron 100 – 400 came proved its value when it came to photographing some of the wildlife – this is not my normal genre, but I decided to give it a go.

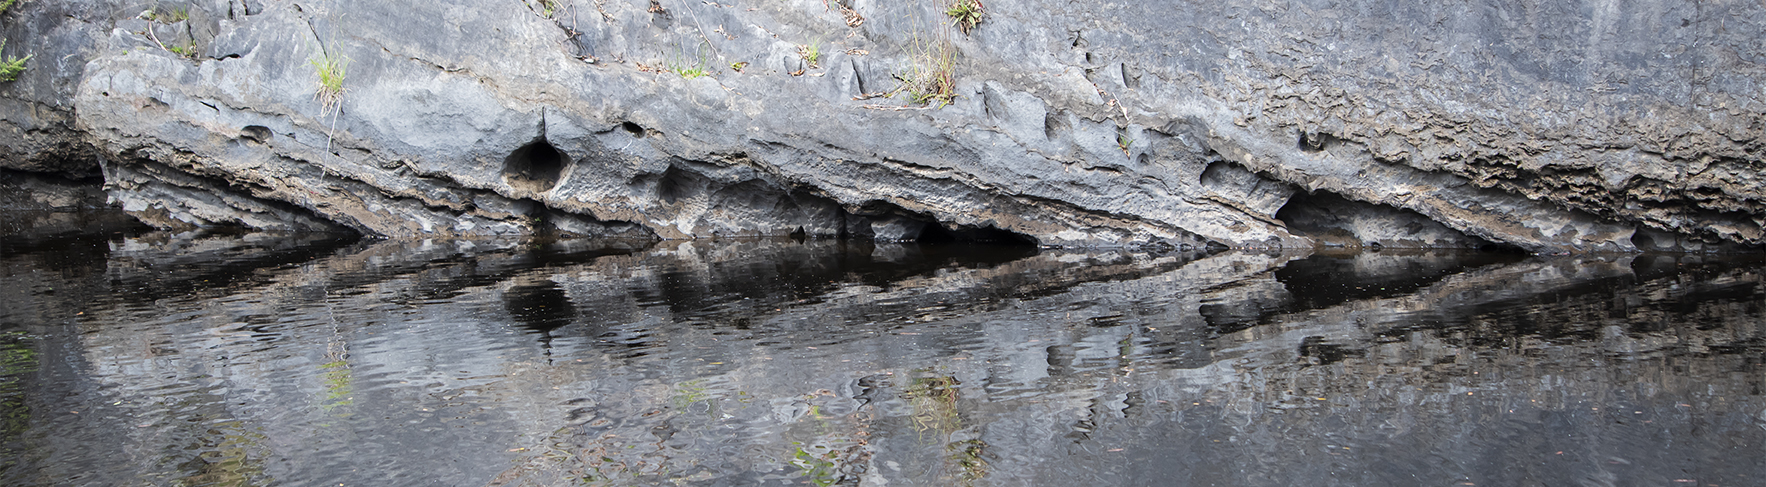
In general, I would set off with the 24 – 70 on the camera, the travel tripod and the ND10 filter, especially when the objective was a waterfall. On photographing waterfalls, I found myself shooting with and without the filter and in landscape and portrait, thus giving me options when post processing. Most of the time I would shoot to the right of the histogram to ensure that the highlights were not blown out, knowing that the great dynamic range of the D810 sensor would handle the shadow areas.
Results
From the 26 days, three of which I didn’t pick up the camera, I came back with 1300 images, all of which have now been roughly sorted and keyworded. I now need to review those that are worth spending post processing time on.
I only needed to charge a camera battery once and I changed cards about three times. I once ran out of card space when I was using burst mode for photographing a platypus.
Lessons learned
If you have one, take at least one extra camera – technology can and does fail!
Research where you are going to ensure you are allowed to use all your equipment and to ensure that photography is permitted
Don’t depend on the weather (even on the ground, I found the forecast unreliable)
Be flexible and keep an open mind
Always be on the lookout for that unusual shot
Take your time
The best camera and lens for the job is one you have with you (how often have you heard that?)
Footnote
On researching the issue with the Z7 when I returned home, I discovered that the reason for the problem was a dirty viewfinder which apparently is very sensitive. Even a speck of dust or hair can create issues. A simple claen of the eye piece solved the problem.